How to Draw Spheres
Updated: 29 Jun 2026
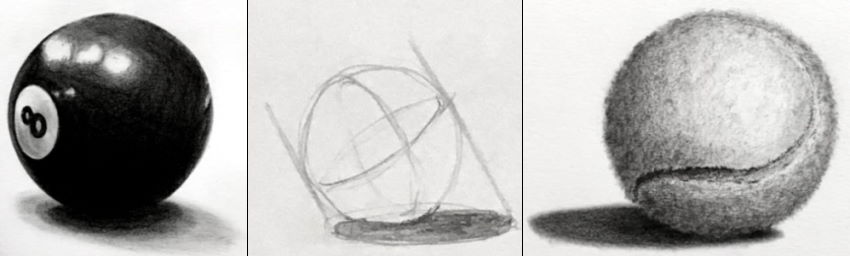
Along with the cube, cylinder, cone, and pyramid, the sphere is a fundamental form that serves as a building block for rendering complex objects.
In this tutorial, I will share my step-by-step process for drawing spheres, including shading and techniques for capturing realistic textures.
The Basics
Contour:
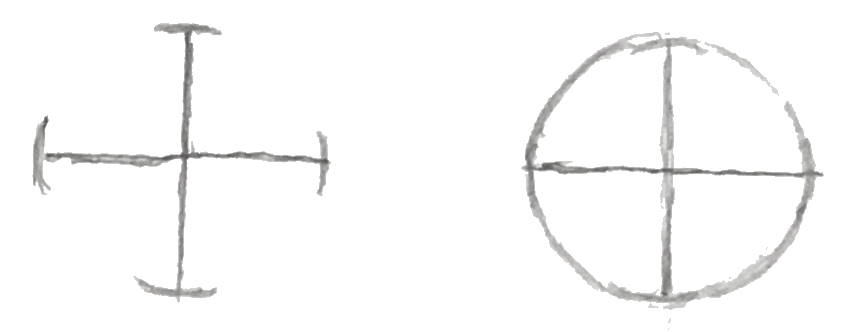
The outer contour of a sphere is a perfect circle.
If you struggle to freehand a clean circle, begin by drawing two intersecting, perpendicular lines of equal length to establish the center and outer bounds.
Alternatively, you can trace a circular object (like a coin or glass) or utilize a compass.
While tools offer precision, I personally prefer the feeling of freehand drawing; the minor imperfections add character and make the creative process far more rewarding.
Cross contour lines:
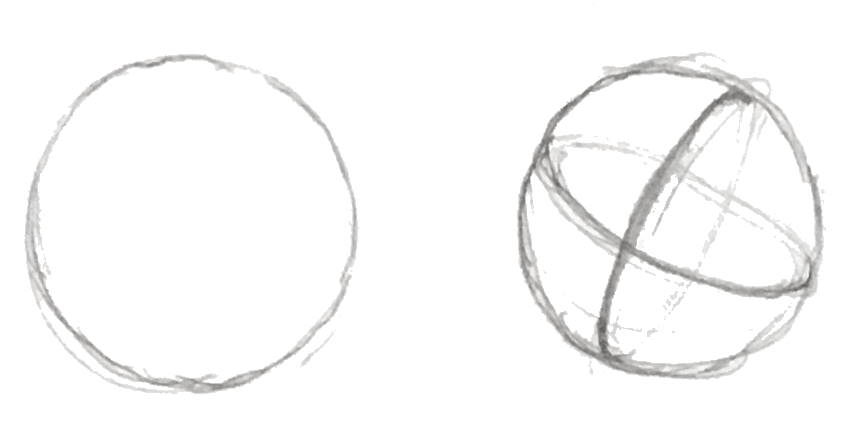
By itself, a circular outline looks completely flat - like a disc.
To create the illusion of volume and direction, you need to utilize cross-contour drawing.
By drawing lines that wrap around the sphere's curved surface, you instantly map out its three-dimensional structure before you even begin shading.
Values:
Defining the light source allows you to arrange your values effectively.
Establish the highlight at the sphere's closest point to the light, then gradually draw darker tones as you move outward.
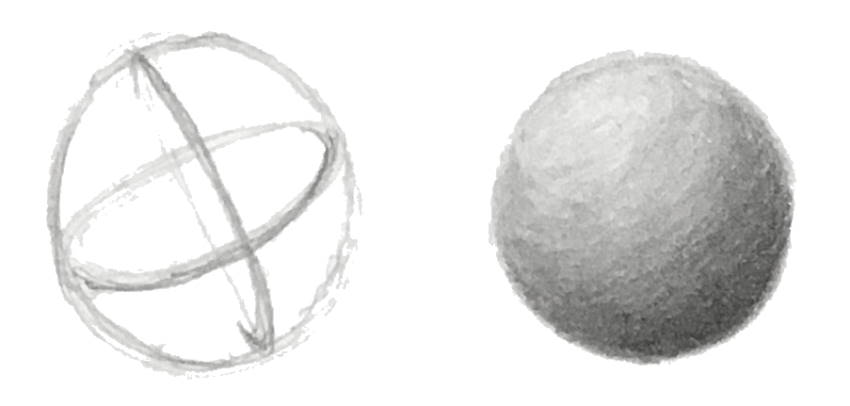
Cast shadow:
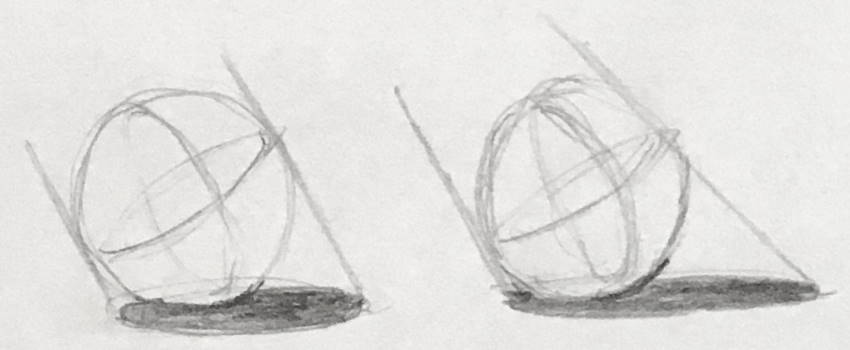
To accurately draw the cast shadow, project two lines from your light source so that they run tangent to the outer edges of the sphere.
Keep in mind the rules of perspective:
Viewed directly from above, a sphere's cast shadow on a flat surface forms a perfect circle.
However, from a side view, the cast shadow becomes foreshortened, appearing as an ellipse.
For a deeper dive into how circular shapes distort in perspective, see my dedicated guide on how to draw round objects.
Edges:
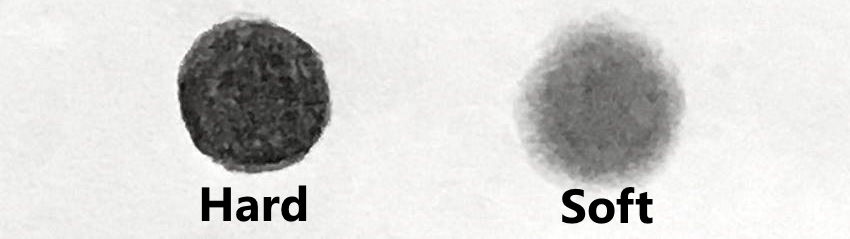
Edges define where one shape or value ends and another begins. They generally fall into two categories: hard (sharp) or soft (blurry).
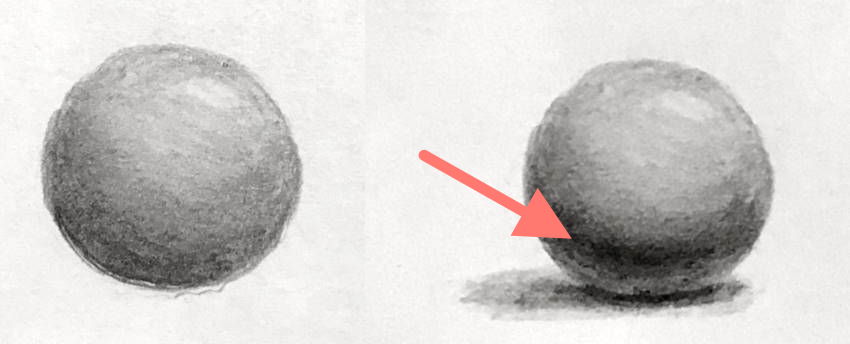
To make your sphere look real, you need both. The outer outline of the ball is a hard edge because it is a solid object. The cast shadow on the ground, however, has soft edges.
Ambient occlusion:
Light bounces off everything in a room. This is called ambient light.
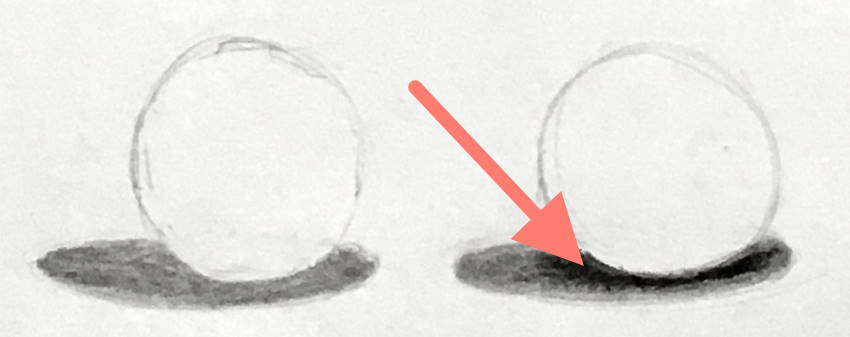
In tight spots like cracks or holes, this ambient light cannot penetrate, making ambient occlusion areas the darkest in a drawing.
Core shadow:
When a light source shines on a sphere, it divides the object into a light side and a dark side.
If the sphere is touching or close to a surface, light bounces back up from that surface and illuminates the bottom of the ball. Because of this reflected light, the darkest area is no longer the bottom edge but an area slightly above it. This dark area is called the core shadow.
Texture
When rendering realistically, using textures, the same rules apply to the texture.
Meaning, look for light and shadow areas, ambient occlusion, core shadow, and pay attention to foreshortening of the cast shadow.
Different textures react differently to light. A texture can be shiny, reflective, matte, etc., and therefore reacts differently to light.
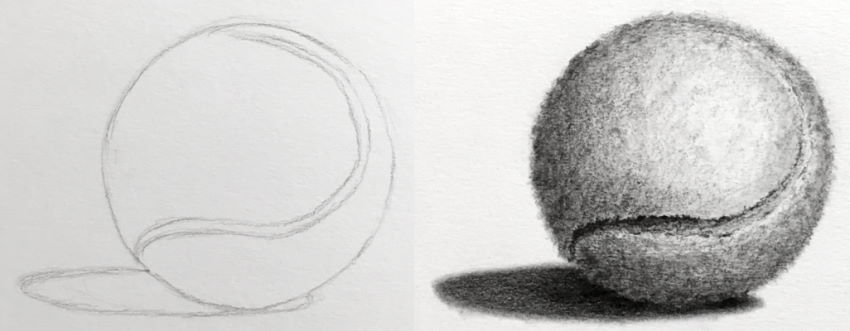
Remember that everything gets darker in the shadow area and lighter in the light area, including texture marks.
For more info on texturing, visit my realistic texture drawing guide.
Suggestion:
Try to draw various textures. Do not limit your textures to a ball.
Practice on other shapes, like a cylinder or a box. Make sure you draw it in perspective.
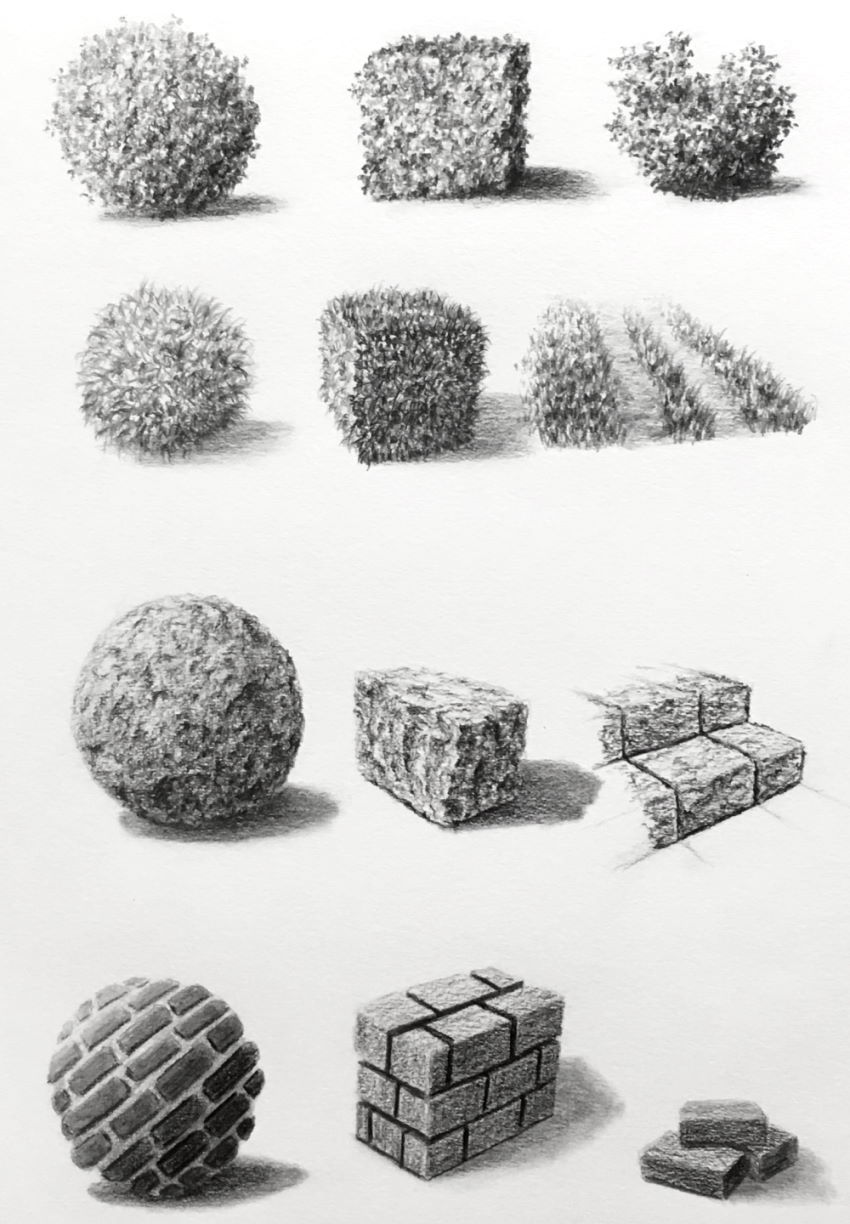
Linear perspective is arguably the most important drawing fundamental, especially for drawing from imagination.
Here is my perspective drawing guide.
Foreshortening
All objects are subject to foreshortening!
A ball is a bit different. Its shape is always a circle; the foreshortening happens inside the ball.
Imagine a ball, which is built from planes. The center plane of the ball is in front of the observer and therefore not foreshortened.
As the other planes move to all sides, they start to be in the observer's direction of sight and become foreshortened.
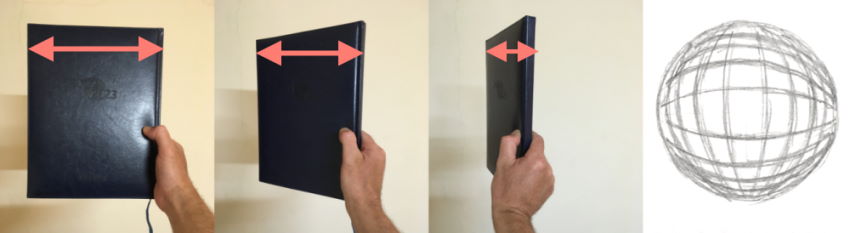
In the next example, the circle for the number (8) is closer to the edge of the ball and therefore foreshortened (an ellipse).
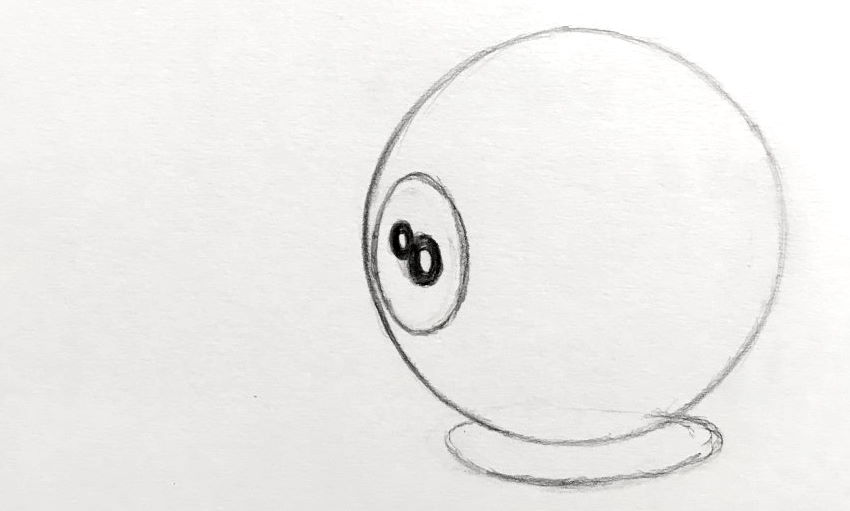
Understanding foreshortening is crucial for drawing. You can learn that in my guide on drawing from imagination.
Another thing to pay attention to is a lost edge.
When two areas share the same brightness value, the edge between them is not visible. Hence, lost edge.
In the example below, the values of the ball and of the cast shadow are the same; therefore, the edge of the ball is NOT visible in that area.
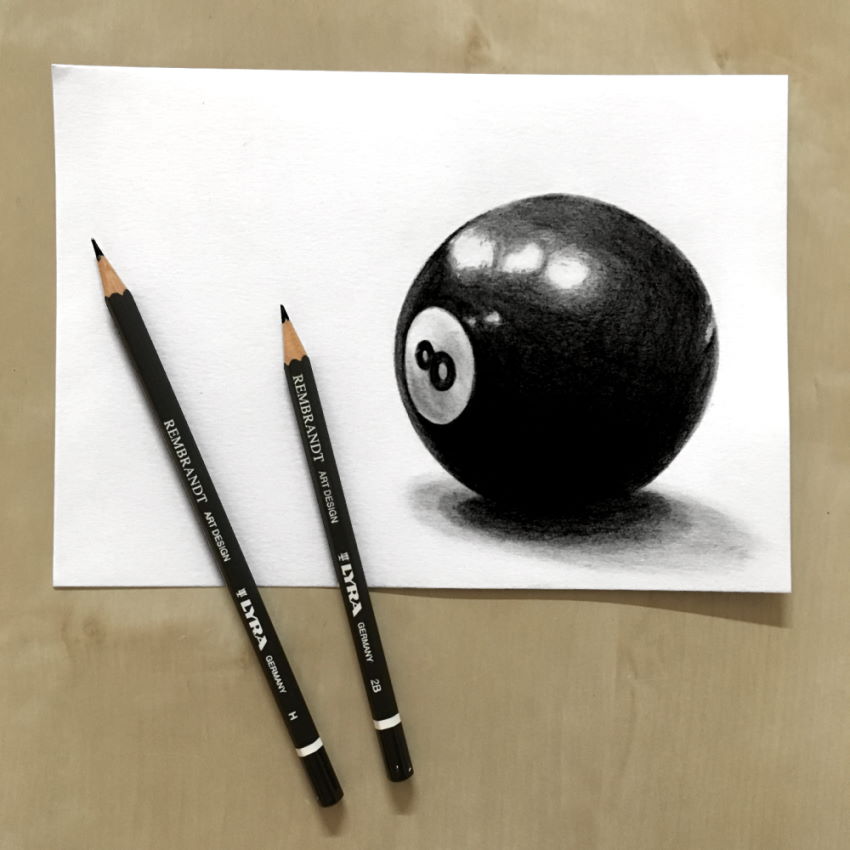
Summary
For realistic drawing, these are my recommended drawing materials.
Different paper brands and types produce a different outcome. You can read about it in my review for drawing paper.
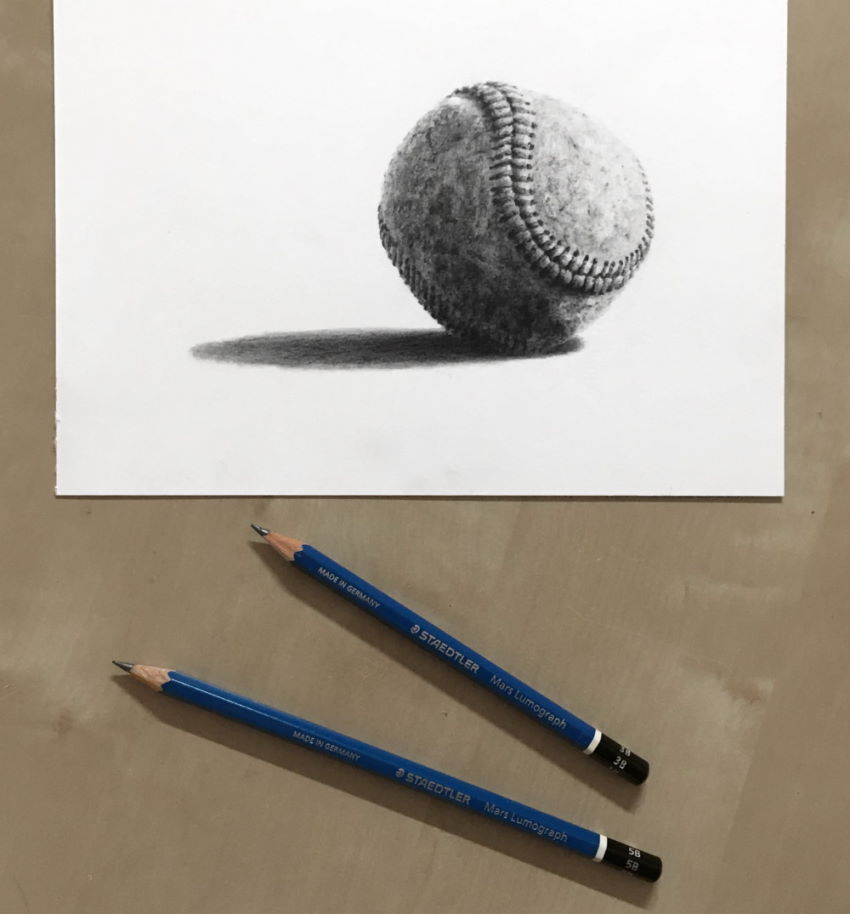
If you are new to realistic drawing, check out my tutorial on how to draw realism. It covers the 4 important factors.
Additionally, I highly recommend reading about these 15 methods to draw depth.
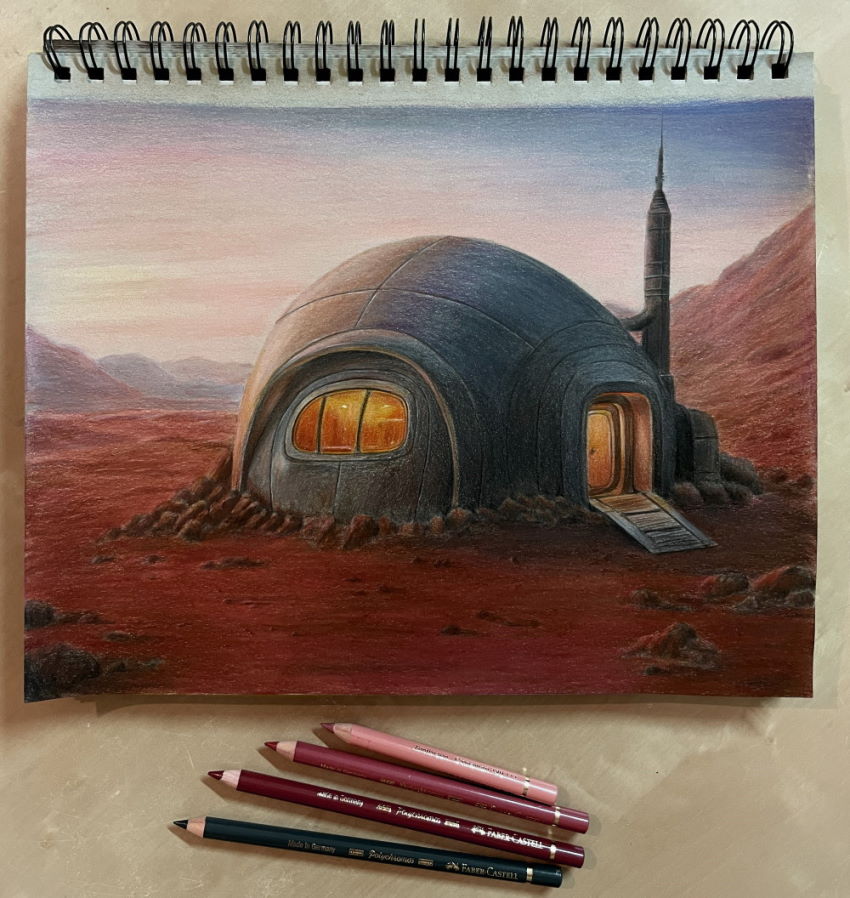
Lastly, in the next example, I drew an igloo (half a sphere) with colored pencils.
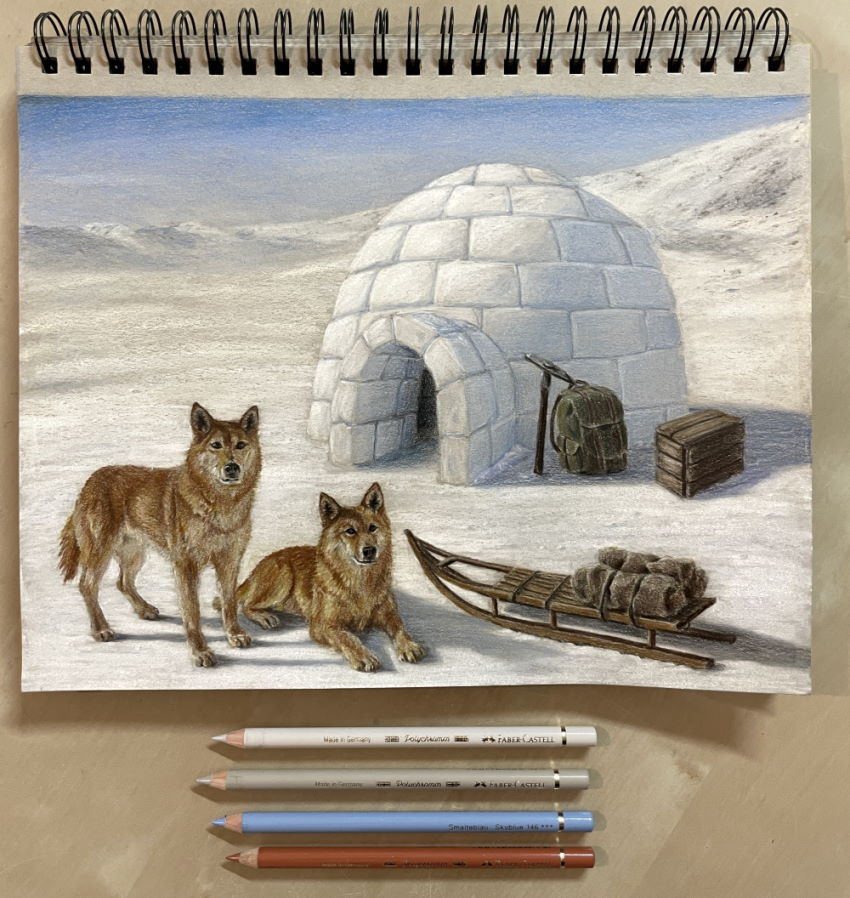
You can draw the structure as complex as you want.
Here is an example of a house on Mars, again with colored pencils.
Good to know:
Another shape, which is hard to draw, is a torus.
I created a guide on how to draw complex shapes that focuses on the torus shape.